

6 min read
5 Quick November Home Projects to Winterize Your Home
By: David Zadareky on Nov 1, 2020 7:52:02 PM
As a real estate broker I often see issues come up during home inspections that could have easily been avoided with a little preventive maintenance. As we head into November, you should begin preparing your home for the coming winter months. I recommend taking care of the following items to better prepare your home for winter and avoid potentially costly repairs.
5 Tips for Winterizing Your Home this November
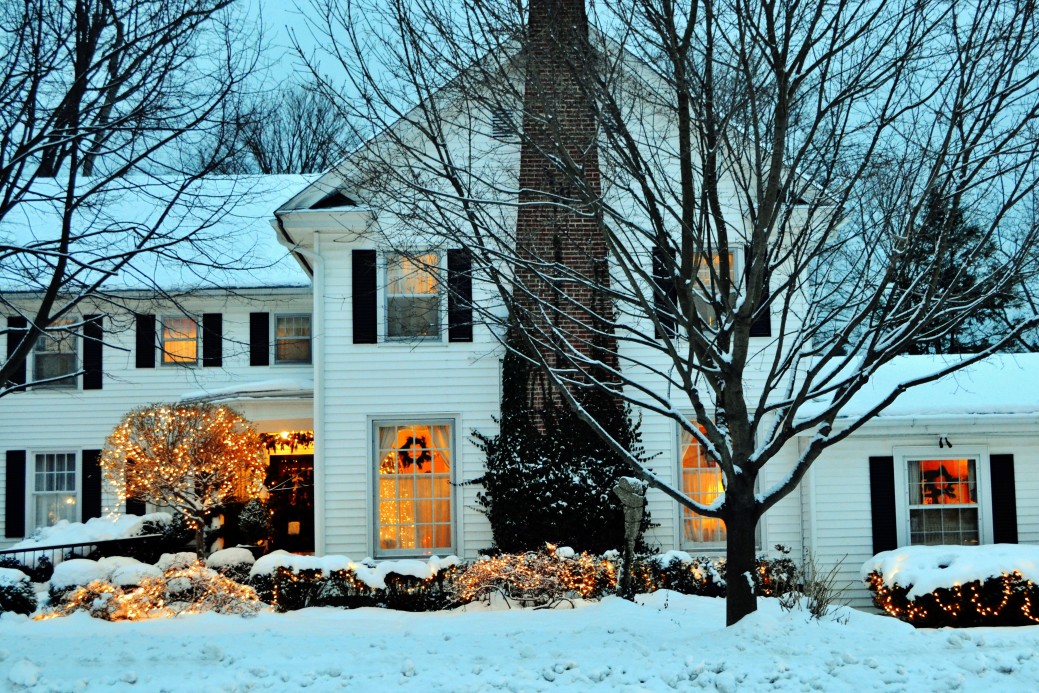
1. Clear Gutters and Exterior Drains
This is the number one reason we see behind wet basements. If your gutters are clogged, the roof rain water will overflow and come down straight against your home’s exterior. The water will then seep through the ground, and depending on your grading, possibly impact with your home’s footer. If water pools along the footer, it can find ways into your home from small cracks in your foundation.
To prevent this from happening make sure you keep your gutters and exterior drains free from leaves and debris. This can be accomplished with a ladder, a trash bag, and a little elbow grease. For your safety, I highly recommend leaving second story, or higher, roof gutters to the professionals such as Metro Gutter. If you decide to do this yourself cleaning is easiest in dry weather, so plan ahead. You don’t want to be cleaning gutters in a bad winter storm.
2. Winterize Landscape Irrigation & Hose Bibs
Who doesn’t love exterior flower beds and lush lawns? We all do! However, when November arrives it is time to make certain those exterior hose bibs and irrigation systems have been turned off for the winter. Failing to do so can lead to broken pipes when freezing weather arrives, which can lead to potentially significant repairs depending on when the damage happens. Imagine not being home for a week long vacation and having a broken pipe. Not fun!
This can easily be avoided by turning the hose bibs off. To locate where the off valves are in your home go to where the main water line comes into your house. The turn off valves are usually located in this room. If you don’t see them, follow the pipes along the ceiling or wall to where you think your exterior hose bibs are located. If you still can’t find them, I recommend calling a plumber or handyman to help you find them. Once located it should be an easy operation to turn the valve to the right to close the valve.
For landscape irrigation you’ll want to hire the professionals who can blow compressed air through the buried water lines to make certain they are prepared for the winter months. We recommend Creative Irrigation & Lightning.
3. Check Sump Pump & Backup System
If your home has a sump pump, then it should have a back up to the pump. Why? Because if you have a storm severe enough to trigger your pump to come on, then it’s also possible that a storm may knock out power to your home. If the power is off, your pump becomes useless and the water will quickly overcome your system and penetrate the home.
The best way to make sure you don’t have an unpleasant failure in your sump pump system is to periodically check the pump, and the battery back up. To check the pump, dump a bucket or two of water into your sump pump. The pump should come on automatically and eject the water from the pump area. If it doesn’t you’ll need a service call to repair, or replace the pump.
4. Replace HVAC Filters
The US Dept. of Energy recommends regular maintenance for your HVAC system to increase its efficiency and improve its performance. Replacing your air filter is a key part of that maintenance process. Dirt and debris in your filter can obstruct air flow, increasing the workload of your cooling and heating system. By replacing the filter regularly, you can reduce the chance of premature system failure and improve the air quality of your home.
To change the filter, locate the furnace or inside unit of the heat pump. Shut the unit off. Remove the access panels to get to the filter. Remove the old HVAC filter. Insert the new HVAC filter. Be sure to pay attention to the arrows on the sides of the filter.Close the access panels and turn the HVAC unit back on.
One of the best ways to get the most out of your system is to enroll in a bi-annual maintenance program with a local service provider such as M&M Mechanical. In addition to maintaining your system in top condition, they can also change your filters for you.
5. Caulk Your Windows and Doors Exterior Entry Points
Minimize potential heat loss by ensuring your doors and windows have tight seals. If you have older windows and doors, they may no longer fit snugly in their openings. If so, it may be time to caulk them to close the gaps. This is a relatively straightforward project, just make sure you don’t apply new caulk over old caulk because the old caulk will continue to pull away taking your new application with it. Stop by your local home improvement store to purchase a caulk gun and the right kind of caulk for your application (interior, exterior, masonry, etc).
Another important project is closing up the gaps where wiring / plumbing enter your home. Think about where your AC or heat pump comes into the home, hose bibs, cable, and vents. These should all be examined to see if there are any gaps for heat loss, but also you don’t want outside pests, like mice, coming inside for winter. Once inside your home these pests can create damage and health hazards.
Fill small holes with steel wool. Caulk around the steel wool to keep it in place. Use lath screen or lath metal, cement, hardware cloth, or metal sheeting to fix large holes. These materials can be found at your local hardware store. Or, if you prefer, call a professional pest control company such as Pest Now.
Conclusion
No doubt home maintenance can be a chore, but it doesn’t have to overwhelm you or your checkbook. Make sure to check these items each November and you’ll be in great shape for the coming winter months. The key is to be proactive in your approach.
Related Posts
Home Equity: A Source of Strength for Homeowners Today
Are Rising Home Prices Creating a Housing affordability Crisis?
Are you feeling squeezed by rising housing costs? You're not alone. According to a new analysis by...
Fall Home Selling Checklist [INFOGRAPHIC]
When selling your house, you want it to look its best inside and out. Here's a checklist for making...